
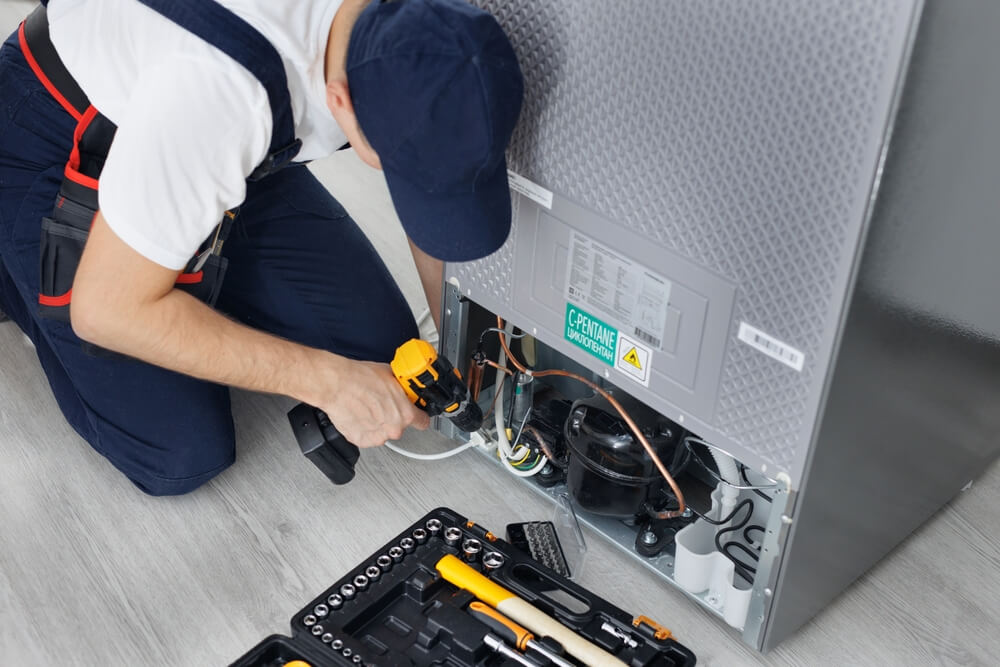
As a responsible homeowner, you understand that a refrigerator is more than just a cooling box—it’s a food-preserving ecosystem. And at the heart of it lies something most homeowners don’t think about until it’s too late: the filter. Whether it’s filtering water or freshening up the air inside your fridge, the filter plays a crucial role in keeping your refrigerator running efficiently and your food tasting and smelling as it should. By learning how to change filter on Samsung refrigerator?, you’re taking control of your appliance maintenance and ensuring the longevity of your investment.
Changing filter on Samsung refrigerator, especially models like the French door or the sleek Bespoke series, is simpler than you might think. This article will walk you through each type of filter—air and water—how to change or clean them, and even how to remove the filter light once your job is done. With these step-by-step instructions, you’ll feel reassured and confident in your ability to maintain your appliance’s water quality, food freshness, and overall longevity.
How Often Should You Change filter on Samsung Refrigerator?
Regular maintenance is key to keeping your Samsung refrigerator running at its best. Samsung generally recommends changing the water filter every six months and the air filter every 3–6 months, depending on your usage and water quality. If you notice a drop in water flow, a change in taste or smell, or a blinking filter light, those are signs it’s time for a replacement. By staying on top of these changes, you’re being proactive in ensuring your appliance’s performance and the quality of your food and water.
Types of Samsung Refrigerator Filters and Their Purpose
Before diving into the process, let’s quickly review the types of filters commonly found in Samsung refrigerators:
- Water Filter: Ensures clean drinking water and ice by removing chlorine, contaminants, and particulates.
- Air Filter: Keeps the fridge smelling fresh by filtering out odors.
- External Water Filter (for older or customized models): Placed on the water line behind the refrigerator.
Different models, like Samsung French door refrigerators and Samsung Bespoke models, may have varied filter locations and designs, but the concept remains the same.
Step-by-Step: How to Change Water Filter on Samsung Refrigerator.
1. Locate the Filter
The water filter in most Samsung models is typically found as follows:
- Inside the refrigerator, between the crisper drawers (for French door models).
- In the top right corner (some side-by-side models).
- Behind a cover marked “Water Filter” or “Filter.”
If you have a Samsung Bespoke refrigerator, the filter is usually discreetly located within a compartment and may require opening a panel.
2. Turn Off the Water Supply (If Applicable)
Though not always necessary, it’s a good idea to shut off the water supply, especially if you’re dealing with an external water filter or if your home water pressure is high.
3. Remove the Old Filter
Turn the filter counter-clockwise (lefty-loosey). You may hear a click. If it’s a push-in type, press the release button and pull out the filter gently. For Samsung Bespoke models, consult your user manual, as removal might involve unlatching a clip.
4. Install the New Filter
Align the new filter’s grooves with the slot and twist it clockwise (righty-tighty) until it locks into place. Make sure the “lock” symbol aligns correctly. For push-in models, please insert the new filter until it clicks.
5. Flush the Filter
This step is often overlooked but is vital. Dispense about 2–3 gallons of water to remove carbon fines and air from the new filter. The water may appear cloudy at first—this is normal.
How to Change External Water Filter on Samsung Refrigerator
Older Samsung refrigerators or specific custom setups use external filters on the back of the fridge, in line with the water supply.
Steps:
- Unplug the refrigerator and shut off the water supply.
- Disconnect the inlet and outlet tubing from the old filter.
- Install the new external filter, ensuring you match the flow direction.
- Reconnect the tubing and turn the water back on.
- Check for leaks and flush the system before use.
This process is more hands-on and may require Teflon tape or a wrench, depending on your tubing connectors.
How to Change Air Filter on Samsung Refrigerator
Changing the air filter is simpler but just as important for food quality and odor control.
Steps:
- Locate the air filter—usually behind a rectangular cover on the back wall inside the fridge.
- Twist or unclip the cover to access the filter.
- Remove the old air filter and insert the new one.
- Snap or twist the cover back on.
Note: Some filters are carbon-based, while others may include an antibacterial layer.
How to Clean Filter on Samsung Refrigerator (When Reusable)
While most water filters are disposable, some air filters or inline external filters can be cleaned and reused temporarily.
To clean:
- Rinse the air filter under lukewarm water.
- Avoid soap or detergents as they can damage the filtering elements.
- Allow the filter to air dry completely before reinserting.
Remember, cleaning is only a temporary fix. Always replace filters according to the manufacturer’s schedule.
How to Remove Filter Light on Samsung Refrigerator
After installing a new filter, your refrigerator might still display the “Replace Filter” or filter indicator light. Resetting it is simple:
Steps (May Vary by Model):
- Touch and hold the “Ice Type” and “Child Lock” buttons simultaneously for 3 seconds.
- Alternatively, press and hold the “Alarm/Filter Reset” button.
- For touchscreen panels, navigate to “Settings”> “Water Filter”> “Reset.”
Once reset, the light should go off or change color (typically from red to blue or green).
Troubleshooting Filter Replacement Issues
Sometimes, you might run into problems during or after changing your filter:
- Water dispenser not working: Ensure the filter is fully seated and twisted correctly.
- Leaking filter: Check for a damaged O-ring or incorrect installation.
- Cloudy water or weird taste: Flush more water through the new filter.
If problems persist, it could be a faulty filter or an issue with your Samsung water valve, which may require professional attention.
FAQs About Change filter on Samsung Refrigerator.
Q1: How do I know which Samsung filter I need?
Each model uses a specific filter, like the HAF-CIN, HAF-QIN, or HAFCU1. Check your user manual or the existing filter for model numbers.
Q2: Can I use third-party filters instead of Samsung originals?
You can, but the quality varies. Always choose NSF-certified compatible filters to ensure proper water filtration.
Q3: Why does my water taste funny after changing the filter?
New filters can release carbon dust initially. Always flush 2–3 gallons of water after installing a new filter.
Q4: What if I forget to change the filter on time?
Overused filters may harbor bacteria and reduce water pressure. They can also allow harmful contaminants to pass through.
Q5: Are Samsung refrigerator filters dishwasher safe?
No. Water and air filters are not dishwasher safe and should be replaced or gently hand-washed only if specified.
Final Thoughts
Change filter on Samsung refrigerator might seem like a minor chore, but it’s a small task with significant benefits. From safeguarding your family’s drinking water to maintaining food freshness, a clean filter ensures your appliance works as it should. Whether you’re replacing a water filter cartridge in a Samsung French door fridge, cleaning the air filter, or resetting the filter light after an upgrade, this step-by-step guide is your go-to resource.
Stay consistent with your filter maintenance, and your refrigerator will reward you with cleaner water, fresher food, and longer appliance life. Don’t wait for a blinking light or bad taste—make filter changes part of your regular household routine.